
Photo to Pencil Sketch
Convert a photo into a pencil sketch with highlights, soft gray midtones and hatched shadows. Adjust the graphite strength and save a PNG.
Open the tool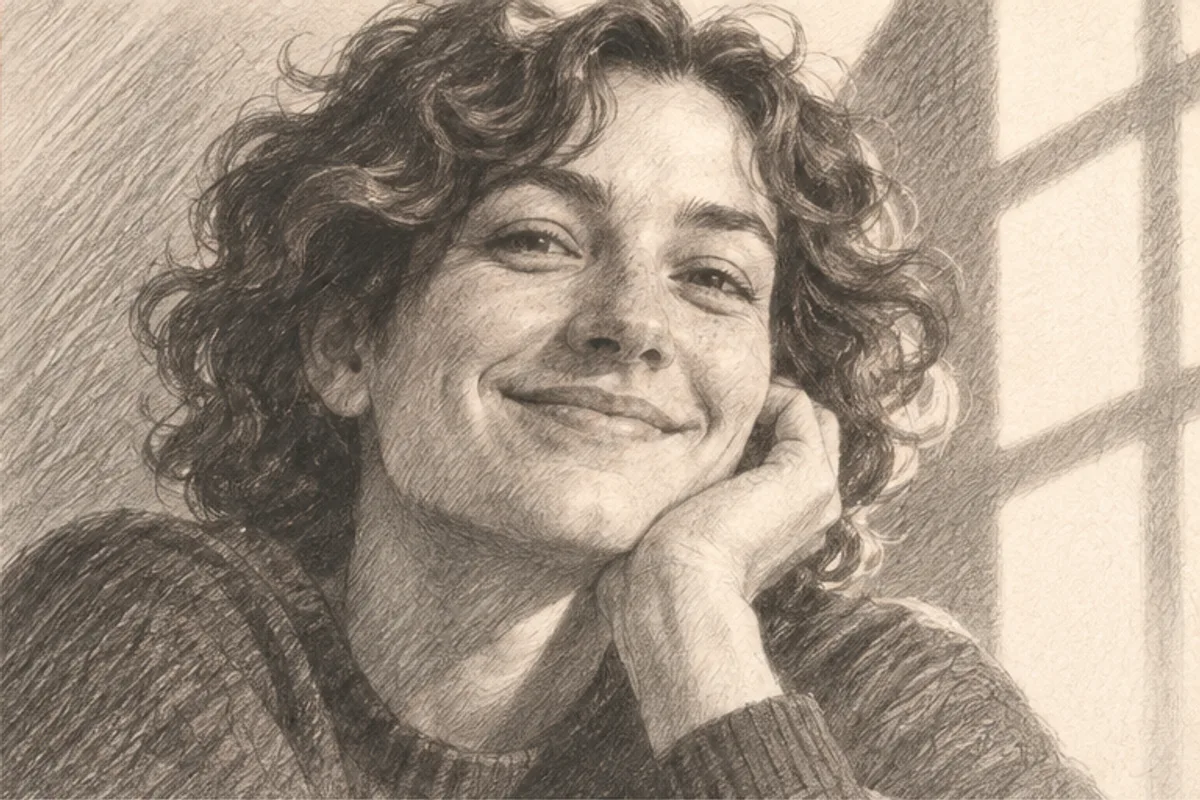
Make a pencil sketch
Choose a photo with clear highlights and shadows.
Up to 10 MiB and 24 megapixels. Your photo stays on your device.
How to convert a photo to a pencil sketch
Start with a photo that has a light side and a shadow side
A portrait lit from a window, a pet beside a bright doorway, or an object under a desk lamp gives the sketch a tonal range to work with. Check that the subject separates from the background.
Choose a graphite strength
Start around 60%. Look at the cheeks, hair or object edges as you adjust. Lower the slider for softer middle tones. Raise it if the dark areas need more visible strokes.
Compare and save at the original size
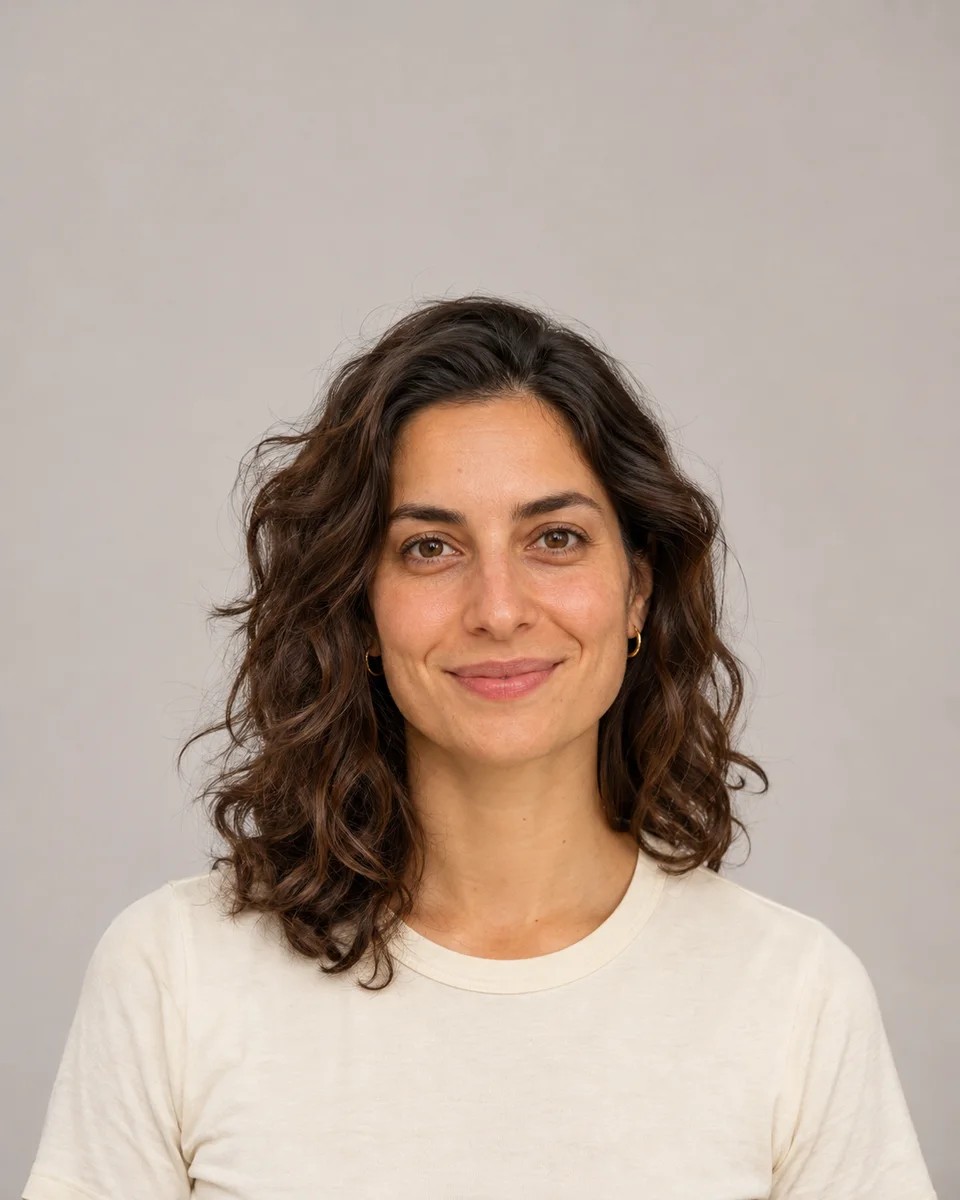
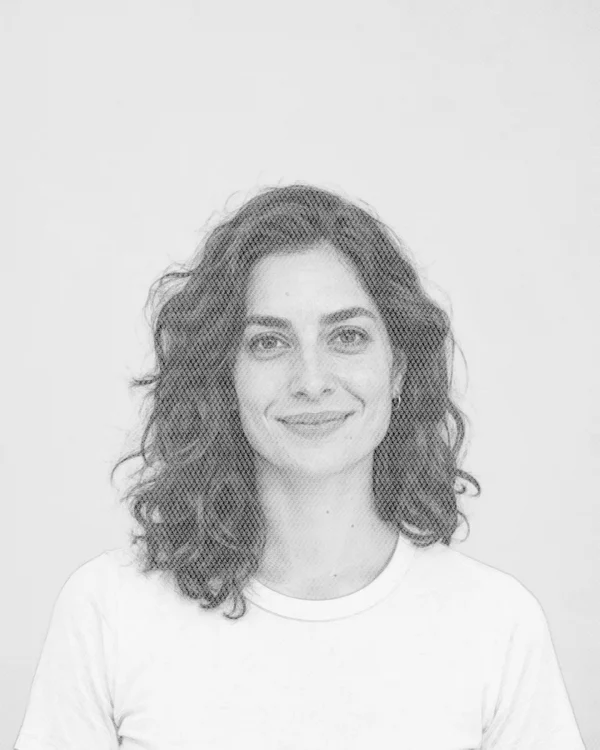
Use the side-by-side preview to compare the overall tones, then download the PNG. Open it at 100% to check fine strokes before printing.
Where the highlights and pencil strokes show up
The sample portrait uses 60% graphite. The bright shirt has only faint lines, the face keeps light gray modeling, and the dark hair develops diagonal crosshatching. Those three tones make the shape read without color.
Choose the effect for the result you want
- Shaded sketch or coloring outline?
- Use a pencil sketch for visible gray tones, cast shadows and texture. For a page to color by hand, use Photo to Coloring Page to get clear black outlines and open white spaces.
- Shadows look too dense
- Reduce Graphite until the darkest region still shows internal detail. If the input is already nearly black in that area, choose a better-lit photo so the texture has more tonal information to work with.
- The photo turns faint or the strokes get lost
- Try a stronger setting. If that makes the whole image look busy, choose a sharper photo with a simpler background and more directional light.
- Preparing a drawing reference for print
- Start with a high-resolution original and keep the PNG at its original pixel dimensions. Check a small proof at the intended size before printing the whole piece.
Frequently asked questions
Is the photo to pencil sketch converter free?
Yes. This browser tool draws the effect on your device and saves a PNG without using a StylMorph generation credit.
Does the sketch keep the original shape?
The effect follows the edges and light values in your photo. Distinct outlines stay recognizable, and heavy shadows become denser graphite.
Which image formats and sizes work?
Use PNG, JPEG or WebP up to 10 MiB and 24 megapixels. The download is a PNG at the original pixel dimensions, with transparent areas rendered on white paper.
What causes heavy texture in the background?
Patterns and shadows produce strokes as well as the subject. Use a plain background, crop the source first or lower Graphite strength to make the texture less prominent.