Move the center toward the subject
The boat in the sample sits low and to the right. Move both focus sliders toward it so that part of the water stays clear as the outer edges darken.
 StylMorph.
Darken the edges of a photo with a soft vignette. Adjust its strength, clear center and focus position, then save a full-size PNG.
Add a vignette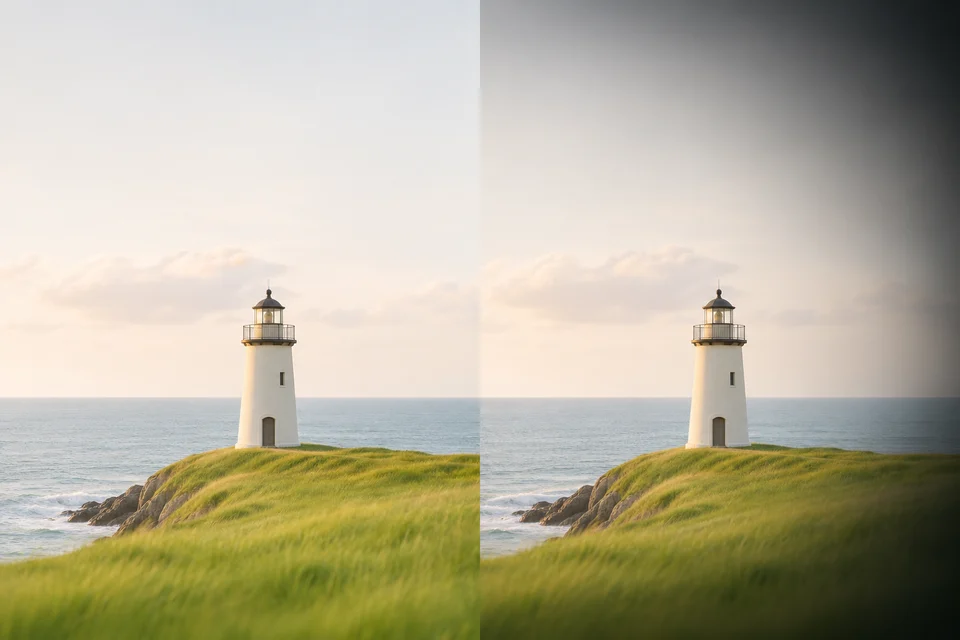
JPG, PNG, WebP · up to 10 MiB · 24 megapixels
Opening image…
Free · Your image stays in your browser.
The boat in the sample sits low and to the right. Move both focus sliders toward it so that part of the water stays clear as the outer edges darken.
Use a larger clear center for group portraits. Reduce edge darkening if a person near the edge becomes noticeably darker than everyone else.
A vignette can look stronger in a small thumbnail. Use the divider to check whether it still feels natural next to the original.
Open a JPG, PNG or WebP, or start with the lake sample.
Adjust Edge darkening and Clear center, then place the focus with the two position sliders.
Drag across the preview to compare edges. Download the edited PNG at the original dimensions.
A vignette is a gradual change near the edges of a photo. This tool uses a soft dark fade around a clear center.
It changes the size of the area before the fade begins. Increase it to keep more of the area around your focus clear.
Yes. Use the two Focus sliders to move it horizontally and vertically. Center focus returns both to 50%.
Lower Edge darkening and use a larger clear center. Compare your edit with the original at the corners and around the subject.
The export keeps the original dimensions and framing. The fade only changes pixel brightness.
Yes. The darkening applies to visible pixels. The PNG keeps transparent areas transparent.
Use a JPG, PNG or WebP up to 10 MiB and 24 megapixels.
The vignette is free to adjust and download in your browser.