

Start with one subject, a pencil, and a palm-sized patch of paper. Sketch the outline lightly so you can adjust it, then fill in the darkest areas. Choose a first study by what you want to try.
- Very easy · Nature. Moon over two ridges or botanical sprig for basic shapes.
- Easy · Still life. Pear with a soft shadow or mug by a window for shading or ellipses.
- Stretch · Shape and depth. Moth with mirrored wings or angled window sill for symmetry or perspective.
Nature sketches
Moon over two ridges

- Draw a jagged line across the lower half of your space. Give it one tall peak and a few smaller bends along the slopes.
- Draw a second ridge lower on the page, with its peak off to one side. Erase any parts of the back ridge that would be hidden by the front one.
- Draw a circle above the peaks, with a little space between the moon and the mountains. Shade the moon very lightly, the back ridge a medium gray, and the front ridge dark.
Check your sketch. If the ridges blend together at arm’s length, add a darker layer of pencil to the front ridge.
Botanical sprig
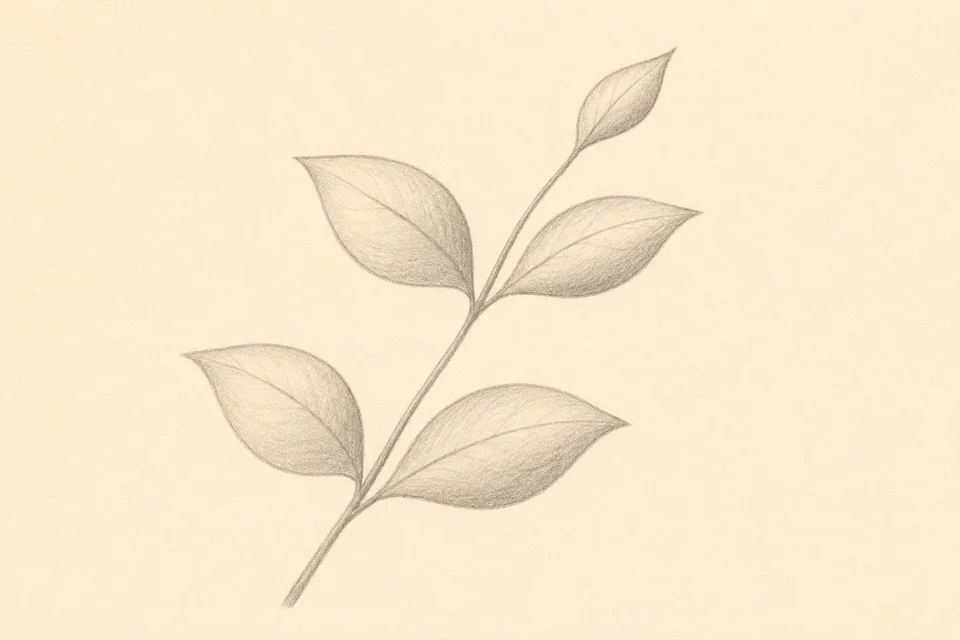
- Draw a thin stem that curves gently as it rises. Mark two spots for the leaf pairs, leaving room at the top for one more leaf.
- At each spot, draw a leaf to either side of the stem. Make each leaf from two curved lines that meet in a point, and make the upper pair a little smaller.
- Draw the small tip leaf in the direction the stem is curving. Add a light vein down each leaf and shade one side with short diagonal strokes.
Check your sketch. If the leaves crowd together, narrow or tilt one leaf until a little paper shows between their edges.
Still life and shading
Pear with a soft shadow
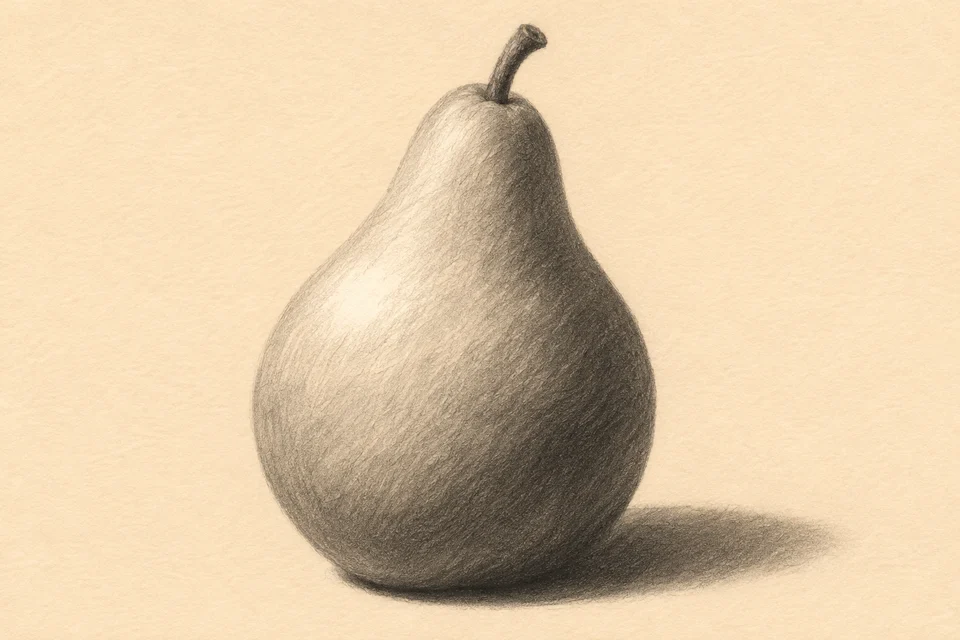
- Sketch a wide, rounded base that narrows toward the top. Add a small dip for the stem and draw the stem leaning slightly to one side.
- Imagine a light above and to the left. Leave a small patch of paper bare on the upper left. Shade across the right side with overlapping strokes, easing the pressure toward the middle.
- Draw a low shadow that starts under the pear and extends to the right. Press hardest where the pear touches the table and lighten your strokes toward the far edge.
Check your sketch. If the pear seems to float, bring the darkest part of the cast shadow right up against its base.
Mug by a window
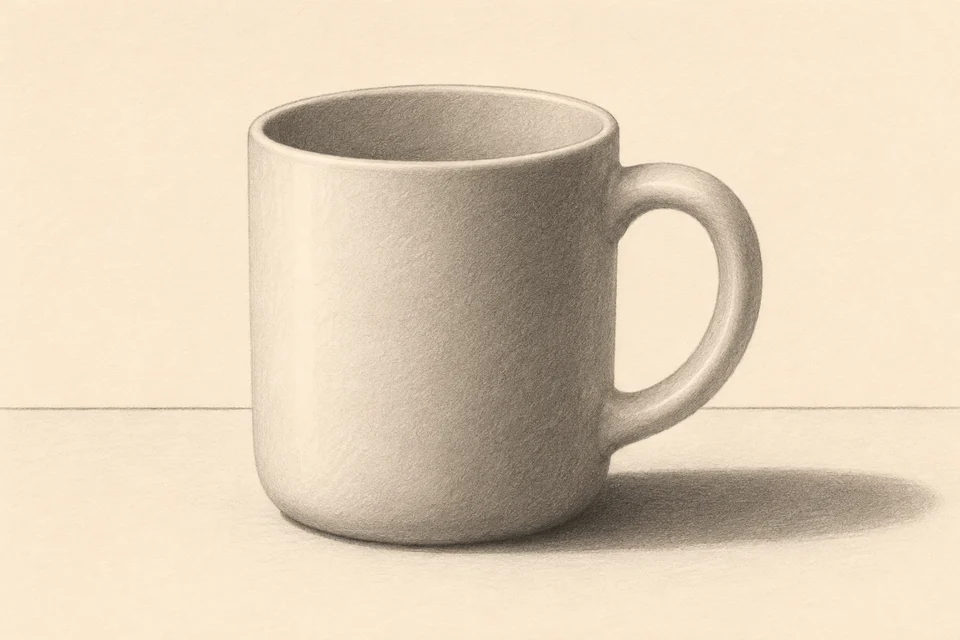
- Draw a wide, shallow oval for the opening. From its widest points, drop two short side lines and join them with a shallow curve at the base.
- Draw a C-shaped handle on the right. Nest a smaller C inside it and join the ends to the mug. Leave the opening of the handle light.
- Draw a faint tabletop line behind the mug. Imagine light from a window on the left. Shade the right side of the mug and draw a low shadow that touches the base and stretches to the right.
Check your sketch. If the rim looks pointed, round off both ends of the oval so the mug looks open at the top.
Symmetry and perspective
Moth with mirrored wings
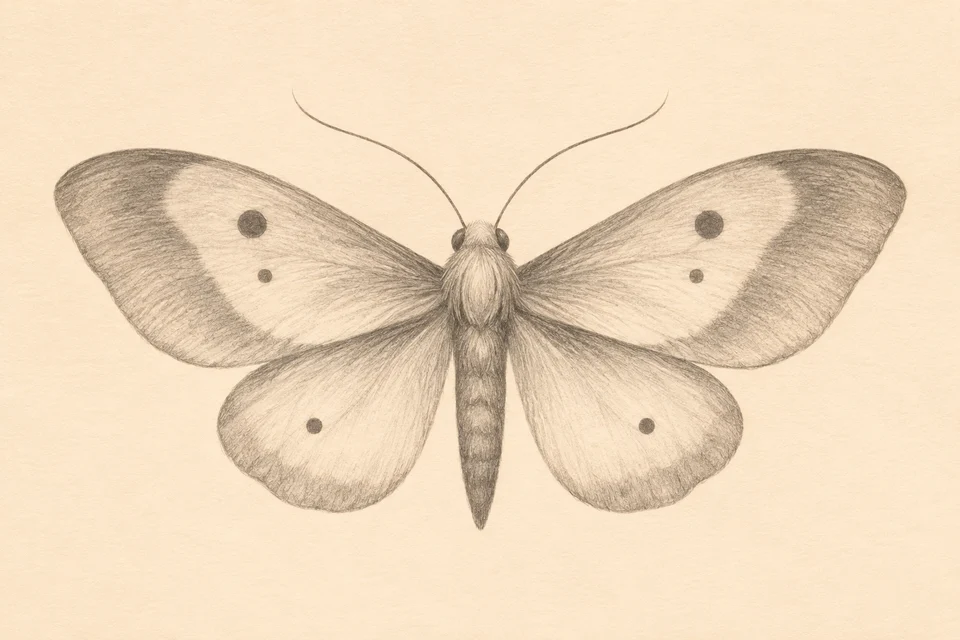
- Draw a faint vertical guide and sketch a narrow body over the middle of it. Mark the tips of the upper wings at the same height, equally far from the guide.
- Draw each upper wing from the body out to its guide mark and back. Add two smaller, rounded wings underneath. Erase the parts of the lower wings hidden by the upper wings.
- Draw two curved antennae. Put a dot and a smaller dot on one upper wing, then repeat both marks at the same heights and distances from the body on the other wing.
Check your sketch. If one side looks wider, measure from the body to each wingtip with your pencil and adjust the wider outline before adding more pattern.
Angled window sill with a plant
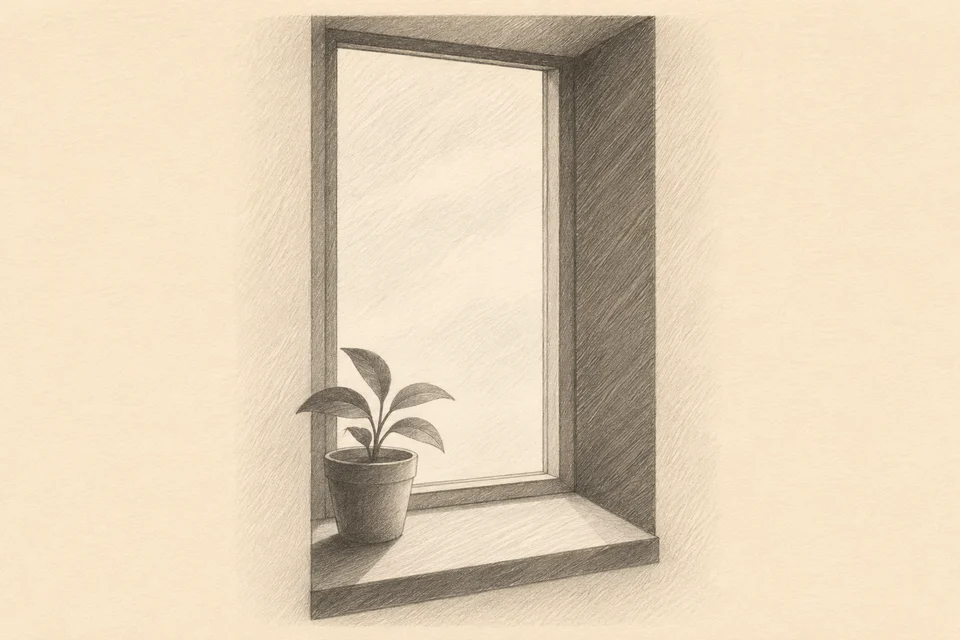
- Draw two upright lines for the window frame. Connect their tops and join their lower ends with a line that slopes up slightly to the right. That lower line is the back edge of the sill.
- Draw a second slanted line below it, a little longer than the first. Connect the ends to form the top of the sill, then add a narrow strip below the front edge to show its thickness.
- Set a small pot between the two edges. Draw an oval rim, sides that taper toward the base, and a few curving stems with leaves. Erase sill or frame lines wherever the pot or leaves cover them.
Check your sketch. If the pot seems to hover, add a short shadow that starts directly under its base and follows the sill.
Photograph your sketch
- Lay the page flat near a window in indirect daylight. Hold your phone directly above it with the camera parallel to the page. Shift the sketch until the paper is evenly lit.
- Crop around the drawing and leave a small border. Zoom in on the lightest pencil marks to make sure they’re sharp enough to see.
- If the lighting leaves a color cast, try the Black and White Photo Converter. Check that the faint marks still show in the converted image.
To practice shading before sketching your own outline, turn a reference photo into a printable outline with Photo to Coloring Page. If you want to paint over your photographed sketch on a separate layer, compare these Photopea alternatives for layered editing.