
Add an Image on an Image
Place one image over another in your browser. Move, resize and fade the top layer, then download a PNG or a two-layer PSD.
Open the tool
Layer your images
Set a base image first, then place a second image over it.
Up to 10 MiB and 24 megapixels per image. Files stay on your device.
How to add an image on an image
Choose the image that fills the canvas
Select the base photo first. Its width and height set the size of the downloaded composition. Use the larger image as the base if you want to keep its full dimensions.
Add the photo or logo you want on top
Choose an overlay. Drag the handle in the preview. You can also focus the handle and use the arrow keys, or make a precise adjustment with the Horizontal and Vertical sliders. Scale it to fit the available space.
Blend the images and choose an export
Use 100% opacity for a crisp logo or lower it so the base shows through. Save a PNG for sharing or a two-layer PSD to keep adjusting the overlay in PhotoCraft.
See what changes when you add a second image
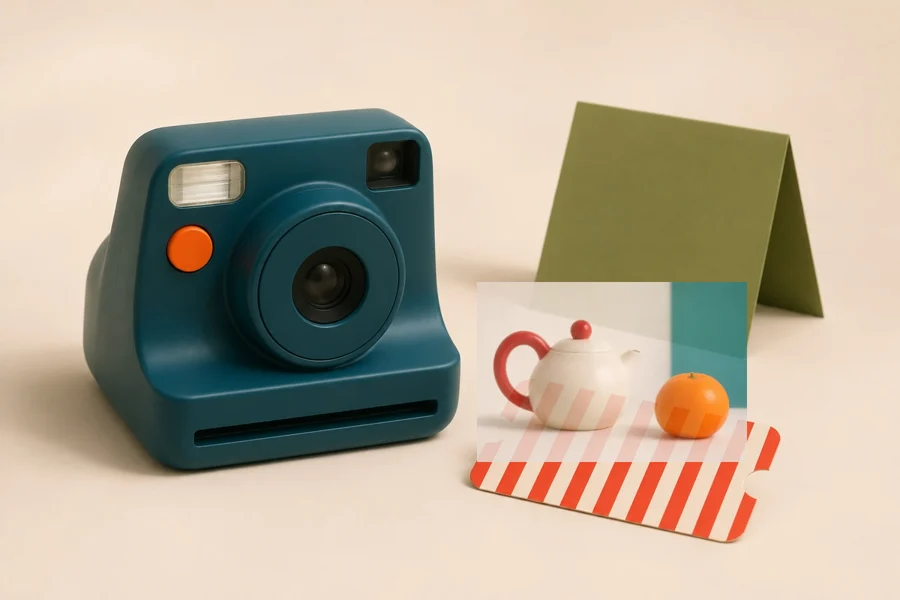
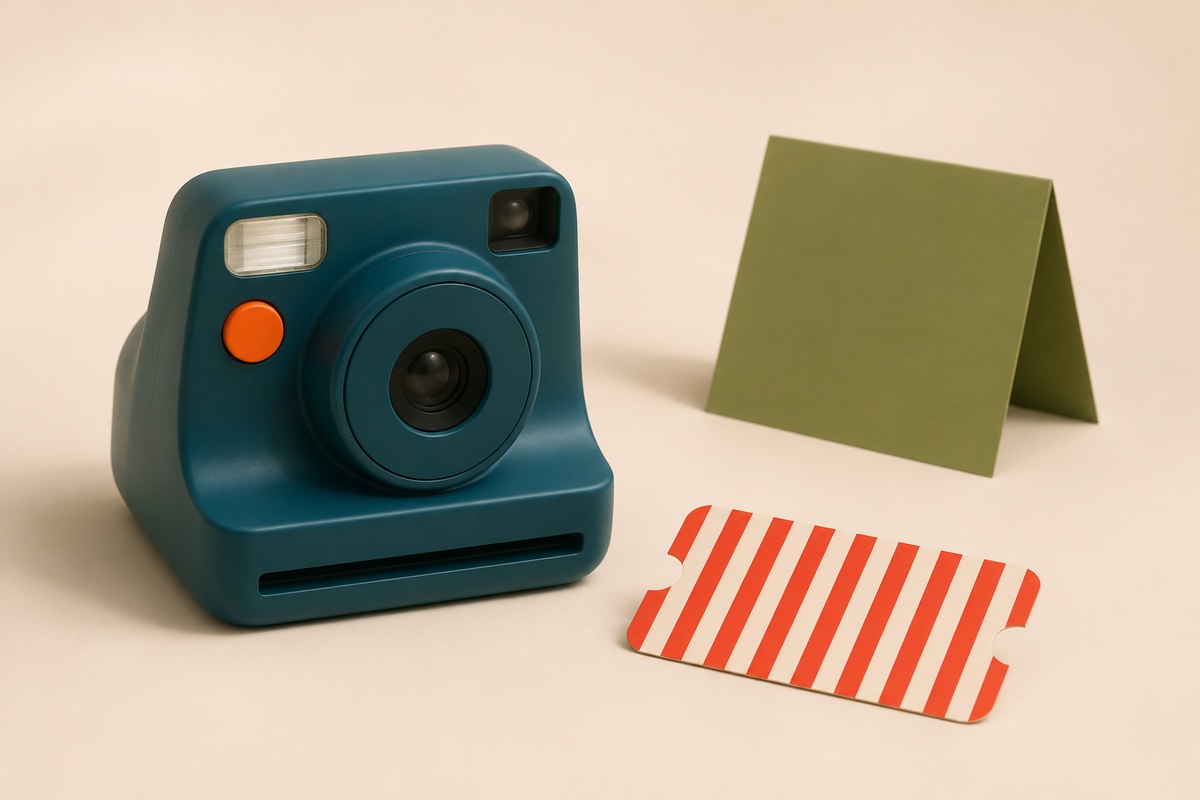
The camera photo stays at 1200 × 800 pixels. The second image sits on top at 40% scale and 85% opacity, so you can still see some of the striped card through it. Select Use sample above to try the same layers.
How to make the overlay look right
- Put a logo over a photo
- Use a transparent PNG or WebP for the logo. Keep opacity high so the mark reads at thumbnail size. Choose a quiet corner with enough contrast and leave room around the edge.
- Line up two versions of the same scene
- Start near 50% opacity so you can see both outlines. Move the top layer until one clear landmark lines up, then adjust Scale until a second landmark matches. Restore opacity or leave it translucent for comparison.
- Keep the entire second photo visible
- Turn Scale down and move the overlay away from the edge. The base sets the canvas, so anything outside that boundary is clipped in the export.
- Choose PNG or layered PSD
- PNG combines both images into a single picture and preserves transparent areas. PSD keeps the base and overlay on separate layers. Keep the overlay inside the canvas if you plan to move it later. Use a base of 6 megapixels or less for PSD, such as 3000 × 2000 pixels.
Frequently asked questions
Why does my logo have a white box?
The white is usually part of the image. Start with a transparent PNG or WebP to reveal the base around the logo. Lowering opacity fades the entire overlay, including the logo itself.
How do I move the overlay on my phone?
Choose a base image, then choose the overlay. Drag the handle in the preview or use the Horizontal and Vertical sliders.
Can I add more than one overlay?
This workspace has one base and one overlay. Download the layered PSD and open it in PhotoCraft to add more layers while keeping the first two separate.
Do the photos get uploaded, and does it cost credits?
The browser processes the files on your device. PNG and PSD exports on this page are free. Each input can be a PNG, JPEG or WebP up to 10 MiB and 24 megapixels.